I was going to call this “How to Keep Your House from Falling Down”, but didn’t want to sound overly dramatic. Back in the summer we were doing some work on the old family farm. We noticed an area in the hallway that was sagging a bit, and seemed to be kind of week. The Summer and Fall were pretty busy, so we just got around to investigating this more recently. Actually the real reason is that fixing this requires crawling under the house, and there some humongous snakes that have been seen during the warmer months. I hate snakes…unless I know where they are.
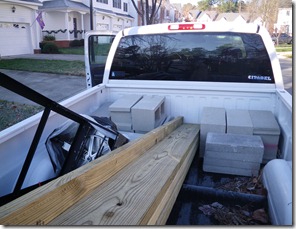
So Ann and I waited until this past weekend, when it was cold to go back down and check it out. So we loaded up the truck with some 2x8x10’s and cinder blocks and headed back down on Sunday.
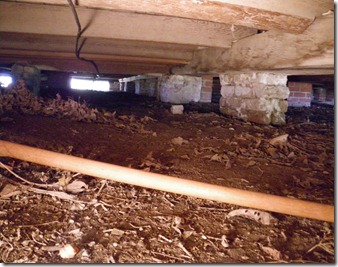
Did I mention that I hate snakes? Anyway, under the house we went to find the source of the sagging floor. The crawl space under the house is REALLY TIGHT. There’s only about 18 inches of crawl space height to squirm around. Notice below, there are only 4 bricks stacked up before the beam. So I set out with a long rake trying to sweep away any leaves or critters that may get in the way.
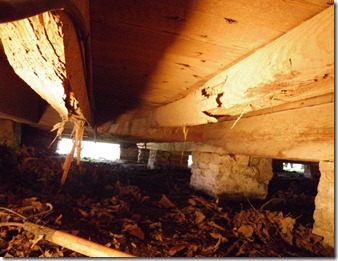
We pressed on like a pair of Chilean miners until we found the source of the sagging floor. It was pretty obvious. See the 2 joists below. They were totally disintegrated by termites. I could literally just push my pinky finger through these floor joist support beams. Now, there are no active termites at the house, but the house was originally built in 1746, so at some point, there were termites. Like I said before, now is just our time to take care of the place for while, so we do what we can.
Typically, to correct this, you “sister‘” another joist to the faulty one to add support. But in this situation, there was just no way to do this as the bad joist was just too far gone. Instead, what we did, was take two 2x8x10’s and nail them together, creating a 4x8x10 beam. Our plan was to use the cinder blocks as basically “new columns” for the “new beams”.
Then Ann came up with something brilliant! The cinder block and wood beams weigh a ton, especially when dragging it under the house on your belly. So she came up with the “cardboard shuttle system” to slide all the heavy stuff back and forth. There’s basically 1 rope for under the house, and 1 rope coming out of the house. The cardboard pad is to make sliding easer in the middle. Ann loads the cinder block on the cardboard from outside the house, then I pull the rope from under the house. I unload the cinder block, then Ann pulls the rope back from the outside to load another block on the cardboard. Brilliant!!
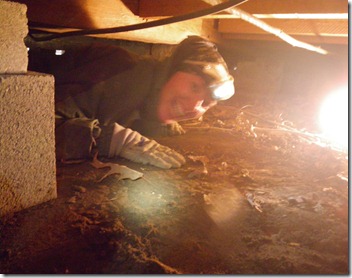
I’m sure Ann’s Dad is looking down laughing at all of our excessive uses of rope over the past year, but not as hard as I was laughing when I took this picture of Ann poking out from behind a cinder block. She’s 5’2”(and a half).
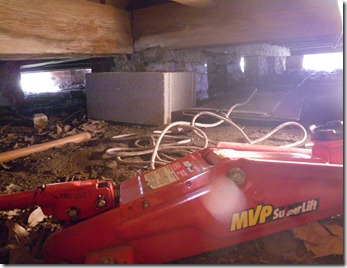
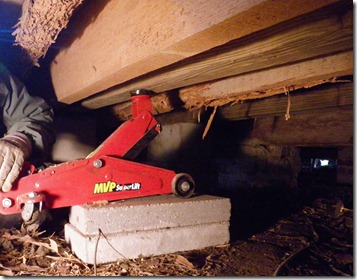
Eventually, we were able to get all of the material and ourselves dragged under the house to make the repair. We used a small car jack and 2 thinner cinder blocks to jack up each end of the ‘new joist’ so that we could move some larger cinder blocks into place as supports for the ‘new joist’.
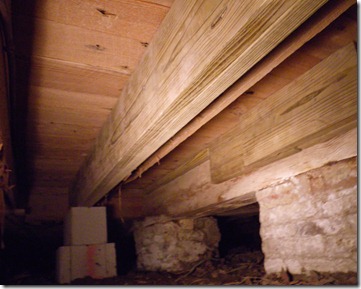
Eventually, we were able to get two 4x8x10 beams installed like you see below with the ‘bad termite beam’ behind it. We were able to use 2 cinder blocks and some smaller wood pieces as shims to get everything level and tight.
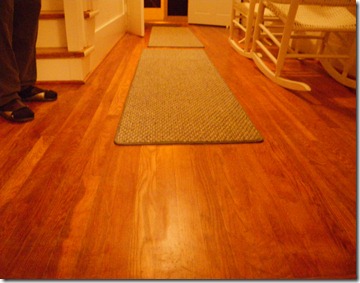
The other important thing was not to raise the joist too much. After all, you don’t want the floor to bow or create other problems like cracked walls. We just made the floor level, so it doesn’t sag. If the ground settles(and it likely will over time), then we can always go back and add more wood shims as needed.
Thanks for Reading!

Pingback: 3 Years in the Making | Jeff Greene